![]()
![]()
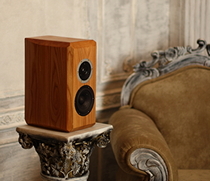
BALL SPEAKER
Small loudspeaker to print yourself
The challenge for this project was: how do you print a loudspeaker cabinet that is assembled with little technology, delivers a high acoustic quality and is constructed in such a way that it works/sounds good despite the "light" manufacturing process? Even with a size that cheap 3d printers can handle and from standard PLA?
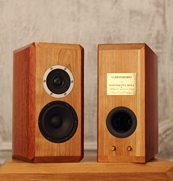
The basic preconditions for a loudspeaker are clear and
always the same, also the reference loudspeakers are extremely high quality. How
is this supposed to work and for whom is this loudspeaker designed?
The operational purpose is very simple, it is the typical satellite speaker for
the TV corner at home. Driven by an entry-level home cinema receiver or a mini
hi-fi system, the speaker performs well. Additional bass support is undoubtedly
desirable. It can show its potential as a centre speaker, as the driver can
transmit dialogues very cleanly. This results in an additional application and
that is video telephony. Here, voice reproduction is as important as with the
center speaker and that is its domain.
The geometry of the loudspeaker is ultimately determined by the objectives of
minimising internal resonances (egg shape) and building a very rigid cabinet
(sphere shape).
The reflex port is optimised by ear, there are no ideal results for the
parameters of the driver.
Egg

Sphere (Ball)

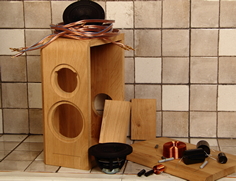
Construction:
The 3D model for printing is available as egg and ball.
Egg: EiLautsprecher.stl or:
https://cults3d.com/en/3d-model/home/ball-speaker
Ball:
Kugellautsprecher.stl
The difference between the two cabinets is only in the outer form and not in the
inner form, which is more responsible for the sound. As printer settings, a
minimum of 3 wall lines (1.2 mm) and 40% filling (I use the octet here) should
be used, also a filling up to 60% is useful, then rather as a "line".
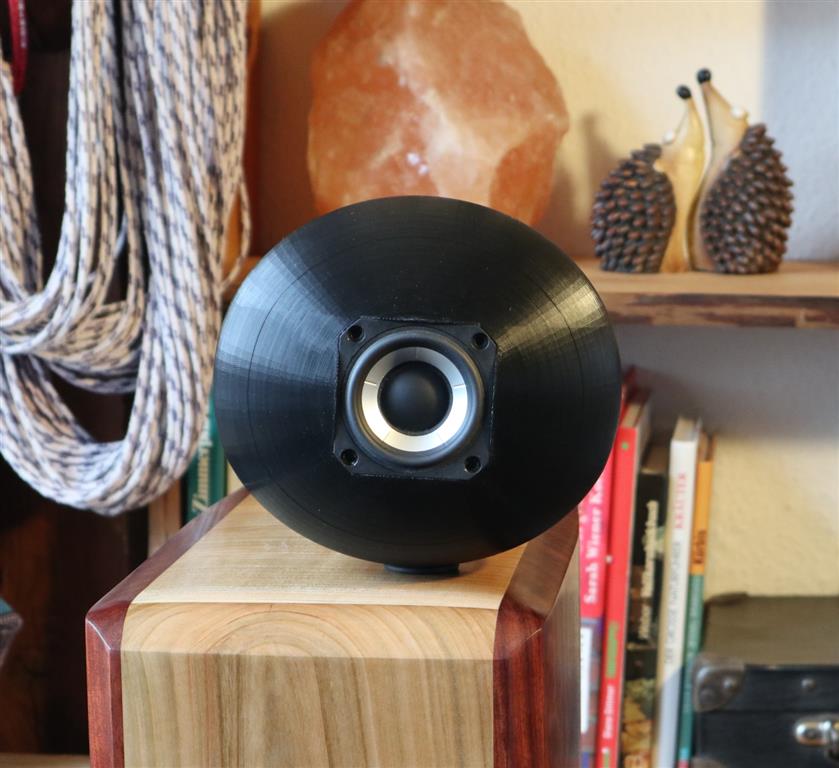
As driver the SB-Acoustics full range driver SB65WBAC25-4 is used, which has to
be slightly regrinded at the basket rim depending on the printer tolerance, so
that it fits into the press fit of the cabinet. This small driver also has a
disadvantage, these are the connectors that are attached to the thin plastic
basket so filigree that it is best to use flat plugs for connecting the cables.
The hole in the housing is designed for a 2x1.5 mm² cable. I wanted to do
without a crossover for such a project, so I chose exactly this driver.
The cabinet has four pillars inside as support structure, which help with
printing, but also act as mounts for the damping. This makes it easy to lay
polyester wadding in a circular pattern inside the case. The very light black
Sonofil is generally recommended. With only a few concessions you can also use
normal wadding slightly puffed up.
There are no measurements available for this loudspeaker, it was developed only
after listening to comparative tests and then the cabinet geometry was adjusted.
Further information can also be found here (in german): https://www.diy-hifi-forum.eu/forum/showthread.php?18591-3d-gedrucker-Lautsprecher